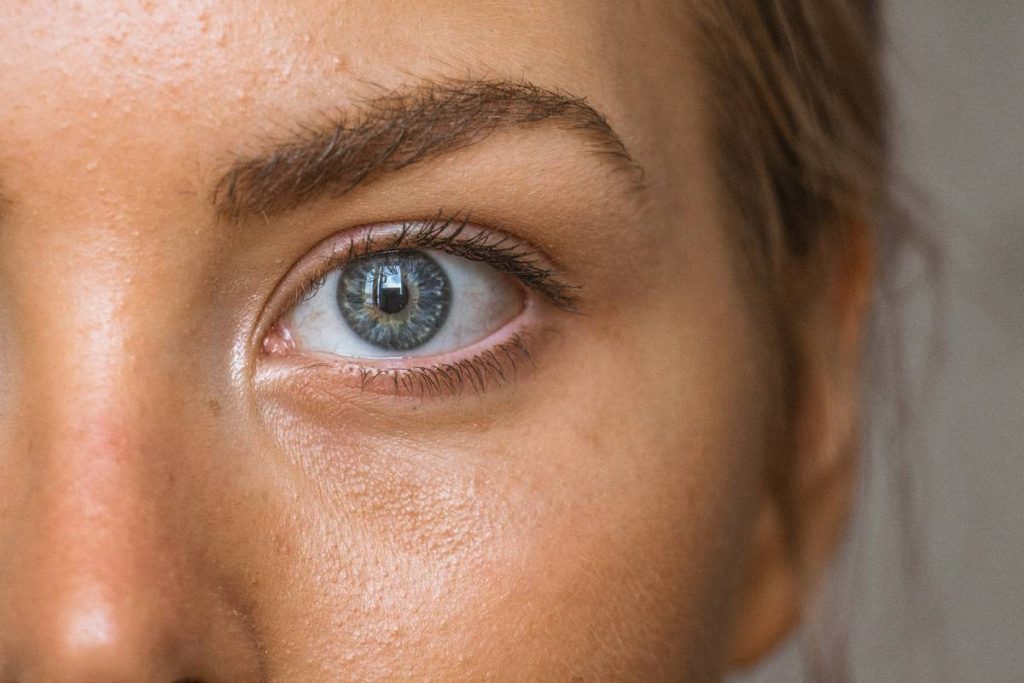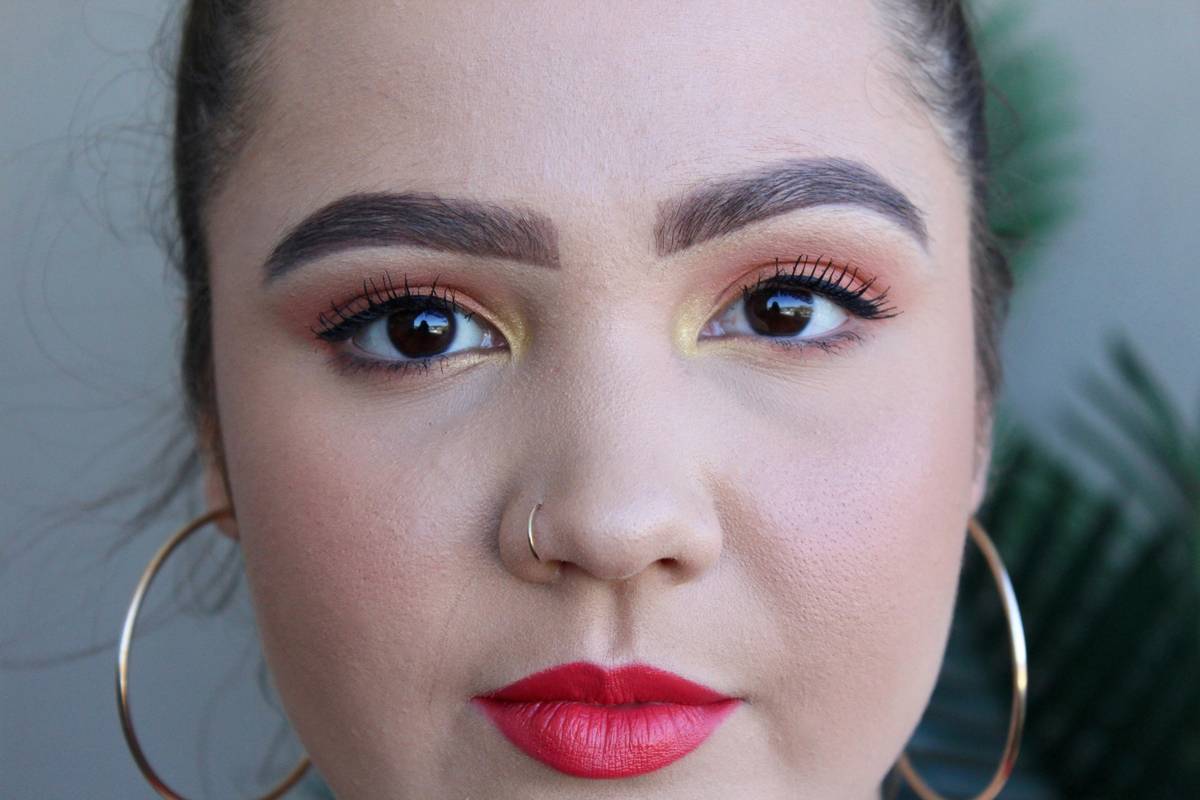
Faded, patchy brows ruining your selfies? You’re not alone. Salons charge $50+ for a 15-minute tint—and still get the shade wrong half the time. What if you could achieve salon-level definition in your bathroom, on your schedule, without wasting cash or risking orange-tint disasters? The secret lies in choosing and using the right at-home brow tint kit—correctly.
Why Most At-Home Brow Tint Attempts Fail Miserably
Most kits treat eyebrows like hair—a fatal error. Brow hairs are coarser, sparser, and grow at sharper angles. Slap on dye meant for scalp hair, and you’ll end up blotchy, uneven, or worse—stained skin that takes days to fade. And timing? Over-process by 30 seconds and your “natural enhancement” looks like a Sharpie accident.
Here’s the reality: success hinges on three overlooked factors—skin prep, pigment chemistry, and micro-application technique. Ignore any one, and you’re gambling.
Step-by-Step Guide to Flawless At-Home Brow Tinting
Prep Like a Pro—Not a Passenger
Cleanse brows thoroughly with an oil-free micellar water. Any residue—serum, sunscreen, even hard water minerals—blocks pigment absorption. Pat dry. Then, apply a thin barrier of petroleum jelly along the lower edge of each brow. This isn’t optional—it’s your insurance against skin staining.
Choose Your Pigment Wisely
Forget “one-size-fits-all” kits. Warm undertones? Go ash brown, not warm brown—counterintuitive, but it neutralizes brassiness. Cool skin? Espresso, not black. And always patch-test 24 hours prior. Reactions aren’t just about allergies—they reveal how your unique hair porosity alters final color.
Application: Less Is More (Way More)
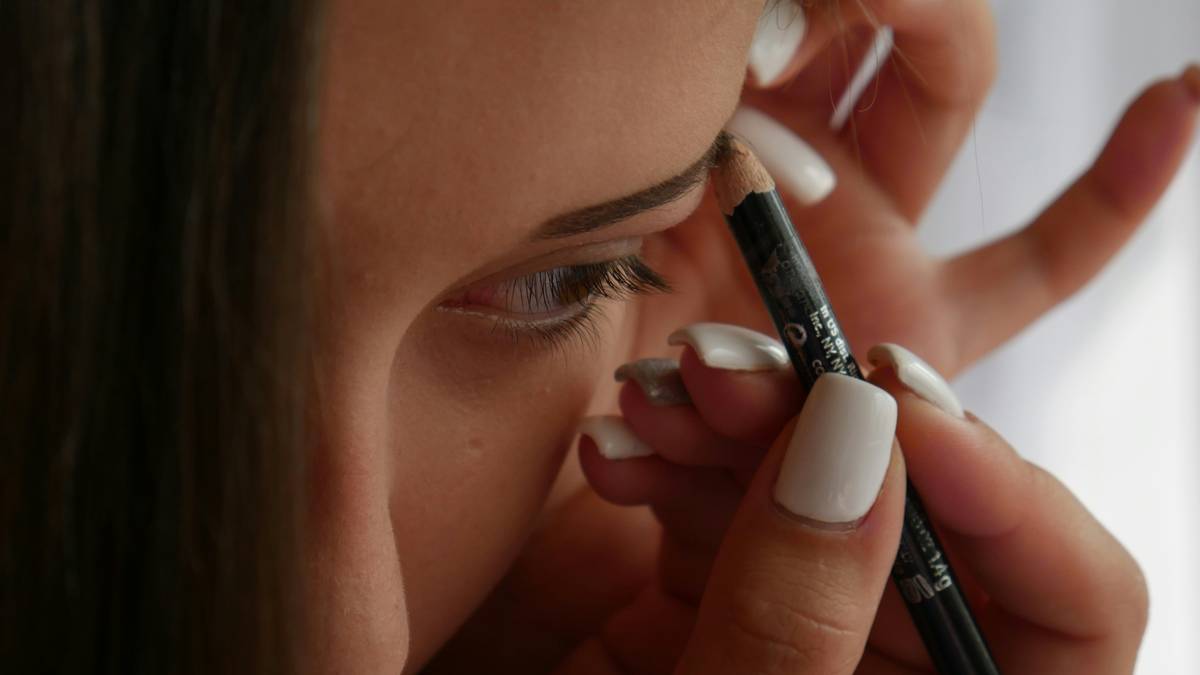
Use the tiniest brush included—usually 3mm wide. Dab excess product off on the rim. Start at the tail, working toward the front with feather-light strokes. Press, don’t drag. Let it sit exactly as directed—no phone scrolling! Set a timer. Rinse with cool water only. No soap for 24 hours.
| Method | Average Cost per Use | Duration of Results | Risk of Skin Staining |
|---|---|---|---|
| Salon Visit | $45–$75 | 3–4 weeks | Low (if done well) |
| DIY Henna Paste | $8–$12 | 6+ weeks | Very High |
| Quality At-Home Brow Tint Kit | $3–$6 | 2–3 weeks | Moderate (avoidable with prep) |
| Drugstore Mascara Tint | $1–$2 | 8–12 hours | None |
The Industry Secret: Tint Timing Varies by Hair Growth Cycle
Most guides say “leave on for 5–10 minutes.” That’s dangerously vague. Here’s what manufacturers won’t tell you: newly grown brow hairs absorb pigment faster than mature ones. If you pluck weekly, your regrowth may need only 3 minutes—while untouched arches require 7. The fix? Apply in stages. Tint tails first (they’re usually longest), then move forward every 60 seconds. This creates gradient depth—not flat, cartoon brows.
And—this is critical—never tint over microbladed or tattooed brows unless your kit explicitly states compatibility. You risk chemical fading or unnatural greenish tones.
Frequently Asked Questions
How long does an at-home brow tint last?
Typically 2–3 weeks, depending on skincare routine. Oil-based cleansers accelerate fading—switch to gel or micellar during tint life.
Can I use regular hair dye on my eyebrows?
Absolutely not. Scalp dyes contain ammonia levels unsafe for facial skin and can cause burns or permanent discoloration.
What if my skin stains during tinting?
Don’t scrub. Dab with a cotton swab dipped in 3% hydrogen peroxide—it lifts surface pigment without irritation. Next time, extend your petroleum jelly barrier.