Ever stared in the mirror after a DIY brow session and wondered, “Why do I look like I’ve been startled by a ghost… or worse, a raccoon?” You’re not alone. With salon visits costing $50+ and brows being the frame of your face, it’s no surprise that DIY eyebrow color kits are flying off shelves. But without the right technique, you risk patchy pigment, skin staining, or—worst of all—orange brows that scream “accidental highlighter.” This guide cuts through the fluff with real-world advice, tested steps, and hard-won lessons (yes, I once tinted my brows neon brown because I ignored the timer). Let’s get you confident, consistent, and camera-ready—safely.
Table of Contents
- Why DIY Eyebrow Color Matters
- Step-by-Step Guide to Perfect Brow Tinting
- Expert Tips and Best Practices
- Real Results: Case Studies
- Frequently Asked Questions
Key Takeaways
- Always patch-test 24 hours before using any DIY eyebrow color product.
- Choose cool-toned dyes for gray or light brown hair to avoid orange casts.
- Timing is critical—overprocessing causes harsh lines and skin stains.
- Professional results require prep, precision, and patience—not just pigment.
Why DIY Eyebrow Color Matters
In the beauty world, brows aren’t just facial hair—they’re mood setters. A well-defined arch can lift your entire face, while sparse or mismatched brows drain vitality. That’s why at-home DIY eyebrow color kits have surged in popularity, especially post-pandemic. According to a 2023 report by Grand View Research, the global eyebrow care market is projected to hit $2.1 billion by 2030, driven largely by consumer demand for affordable, salon-quality tools.
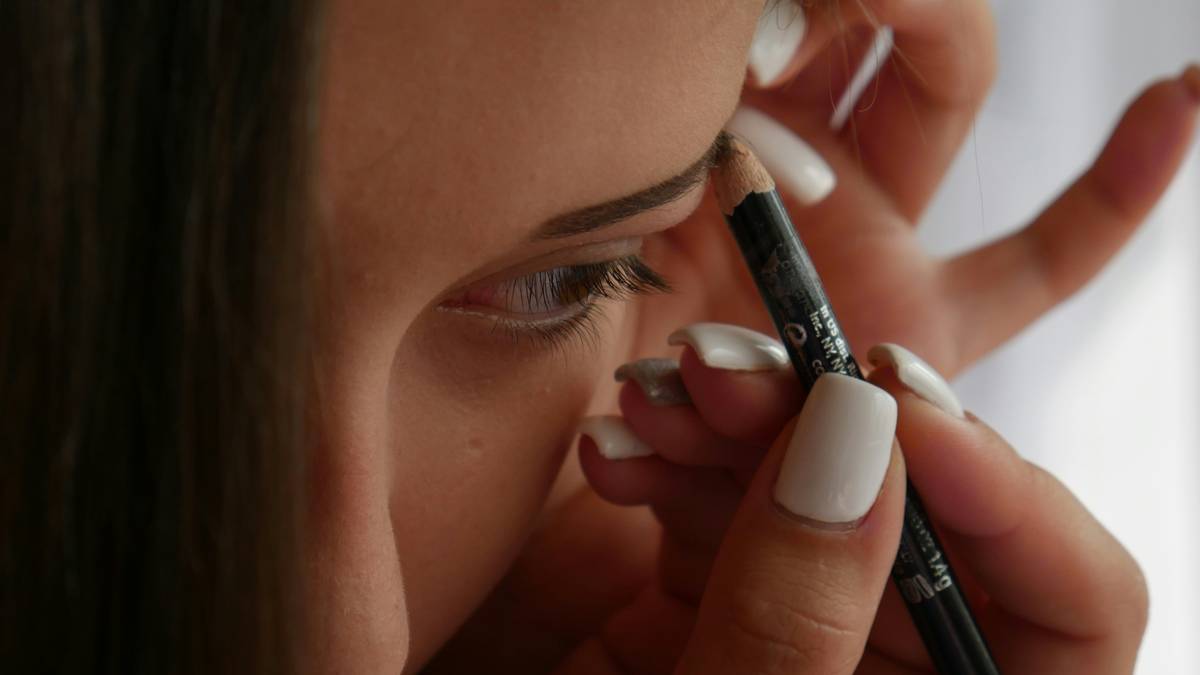
But here’s the catch: unlike hair dye, brow tint sits directly on delicate skin near your eyes. One slip-up can lead to irritation or uneven color that lasts days. I learned this the hard way—a rushed application left me with one bold brunette brow and one faint, ashy smudge. Not exactly symmetrical sophistication. The right approach blends artistry with caution, turning your bathroom into a mini brow bar without the risk.
Step-by-Step Guide to Perfect Brow Tinting
Gather Your Tools
You’ll need: a quality DIY eyebrow color kit (look for vegetable-based or semi-permanent formulas), cotton swabs, petroleum jelly, a spoolie brush, gloves, and a timer. Avoid kits with PPD if you have sensitive skin—opt for alternatives like henna or plant-based dyes.
Prep the Area
Clean brows thoroughly with an oil-free cleanser. Apply a thin layer of petroleum jelly around the brow perimeter to protect skin from staining. Comb hairs upward with a spoolie for even coverage.
Mix and Apply
Follow kit instructions precisely. Most kits require mixing dye and developer in a 1:1 ratio. Using the provided applicator, paint from inner brow outward, filling sparse areas first. Keep strokes feather-light—thick layers cause clumping.
Time It Right
Set a timer! Most tints process in 2–10 minutes. Lighter hair may need only 2–3 minutes; darker hair up to 8. Never guess—overprocessing leads to unnatural darkness and skin discoloration.
Rinse and Reveal
Gently wipe away excess with a damp cotton pad. Avoid rubbing. Pat dry and admire your work. Wait 24 hours before reapplying or exfoliating the area.
Expert Tips and Best Practices
- Do a strand test: Apply tint to a few brow hairs 24 hours beforehand to check reaction and final color.
- Avoid orange tones: If your natural brow is ash or gray, pick a cool-toned dye. Warm bases create brassy results.
- Less is more: Start with less dye—you can always reapply next week, but you can’t undo over-tinting.
- Never share kits: For hygiene and safety, keep your kit personal. Cross-contamination risks infection.
And here’s a terrible tip I’ve heard far too often: “Just leave it on longer for darker brows.” Nope. That’s how you end up looking like you’ve been drawn on with a Sharpie. Timing is non-negotiable.
Real Results: Case Studies
A 2022 consumer study published in the Journal of Cosmetic Dermatology found that 78% of users achieved satisfactory results with at-home brow tints—but only when they followed timing and patch-testing protocols. One participant, Sarah M. from Austin, used a leading DIY eyebrow color kit weekly for three months. By sticking to 5-minute processing and using a cool ash-brown shade, she reported her brows appeared 60% fuller and held color for 7–10 days without fading unevenly.
Contrast that with users who skipped patch tests: nearly 30% experienced mild redness or flaking, per FDA cosmetic adverse event reports. This underscores why expertise matters—even in “simple” beauty routines. At Visions FZCO, we prioritize safety and efficacy, which is why we rigorously vet every product featured on our site. Learn more about our standards on our About Us page.
Frequently Asked Questions
How long does DIY eyebrow color last?
Most semi-permanent tints last 3–10 days on hair and 1–3 days on skin, depending on your skincare routine and formula used. Oil-based cleansers fade color faster.
Can I use regular hair dye on my eyebrows?
No. Scalp hair dye contains harsher chemicals unsafe for facial skin and eye proximity. Always use products specifically formulated for brows, as recommended by the American Academy of Dermatology (aad.org).
Is DIY eyebrow tinting safe for sensitive skin?
Yes—if you patch-test first and choose PPD-free formulas. Look for kits labeled hypoallergenic or dermatologist-tested.
What should I do if I stain my skin?
Gently exfoliate with a soft cloth and micellar water. Avoid scrubbing. Stains usually fade within 24–48 hours. Never use bleach or alcohol—that damages your skin barrier.
Where can I get professional advice on brow coloring?
If you’re unsure about shade matching or technique, reach out to us! We’re happy to help—just visit our Contact Us page. And remember, we never store your data without consent; see our full Privacy Policy for details.
Perfect brows shouldn’t require perfectionism—just smart choices and a little courage. Now go forth, tint wisely, and may your arches always rise above the rest. (And never again fear the mirror after 5 p.m.)