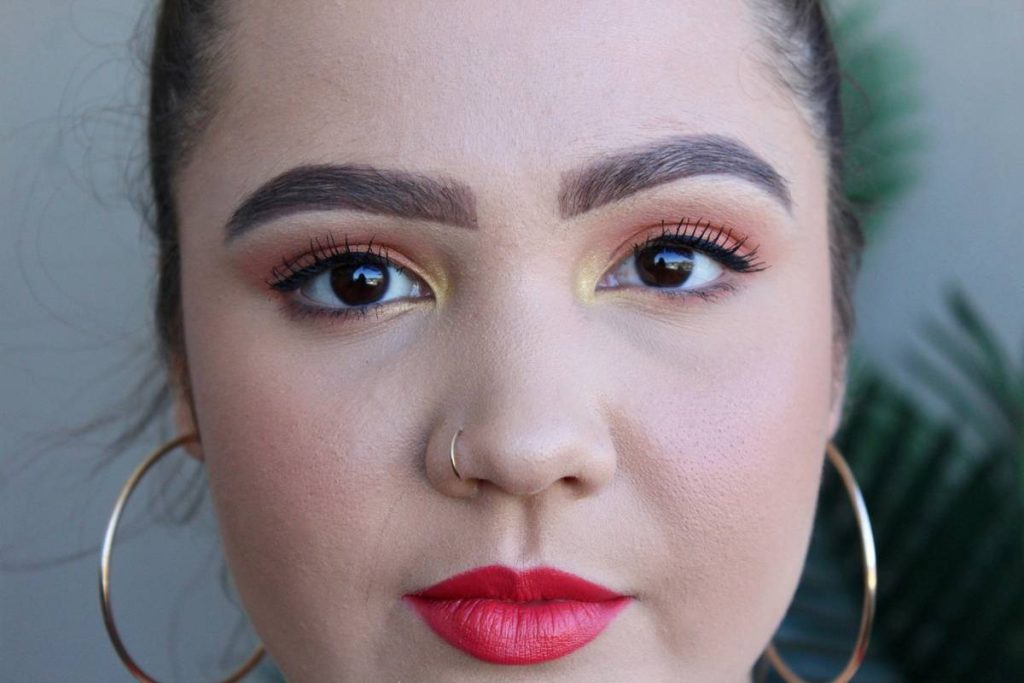
If you’ve ever stared into the mirror after a DIY brow session wondering why your eyebrows look like smudged charcoal sketches, you’re not alone. At-home eyebrow grooming—especially with tinting kits—can deliver salon-worthy results… or leave you hiding behind sunglasses for a week. I learned this the hard way when I once left tint on for double the recommended time (thanks, distracting TikTok scroll), resulting in brows so dark they looked drawn on with a Sharpie. In this guide, we’ll walk through everything you need to know about safe, effective home eyebrow grooming, from choosing the right kit to mastering application without panic.
Table of Contents
- Why Home Eyebrow Grooming Matters
- Step-by-Step Guide to Using an At-Home Eyebrow Tinting Kit
- Best Practices for Flawless Results
- Real-World Results: What Works
- Frequently Asked Questions
Key Takeaways
- Always do a patch test 24 hours before using any tinting product.
- Timing is critical—overprocessing causes harsh, unnatural color.
- Use angled brushes and spoolies for precision and blending.
- Clean skin = better adhesion and even color payoff.
- Store kits in cool, dry places to preserve formula integrity.
Why Home Eyebrow Grooming Matters
In the $70 billion global beauty market, at-home grooming tools are surging—especially post-pandemic, as consumers seek salon-quality outcomes without salon prices or appointments. According to Grand View Research, the at-home beauty device segment is projected to grow at 8.3% CAGR through 2030. And eyebrows? They’re the frame of your face. A well-groomed arch can lift your entire expression, while uneven or faded brows can make you look tired or unkempt.
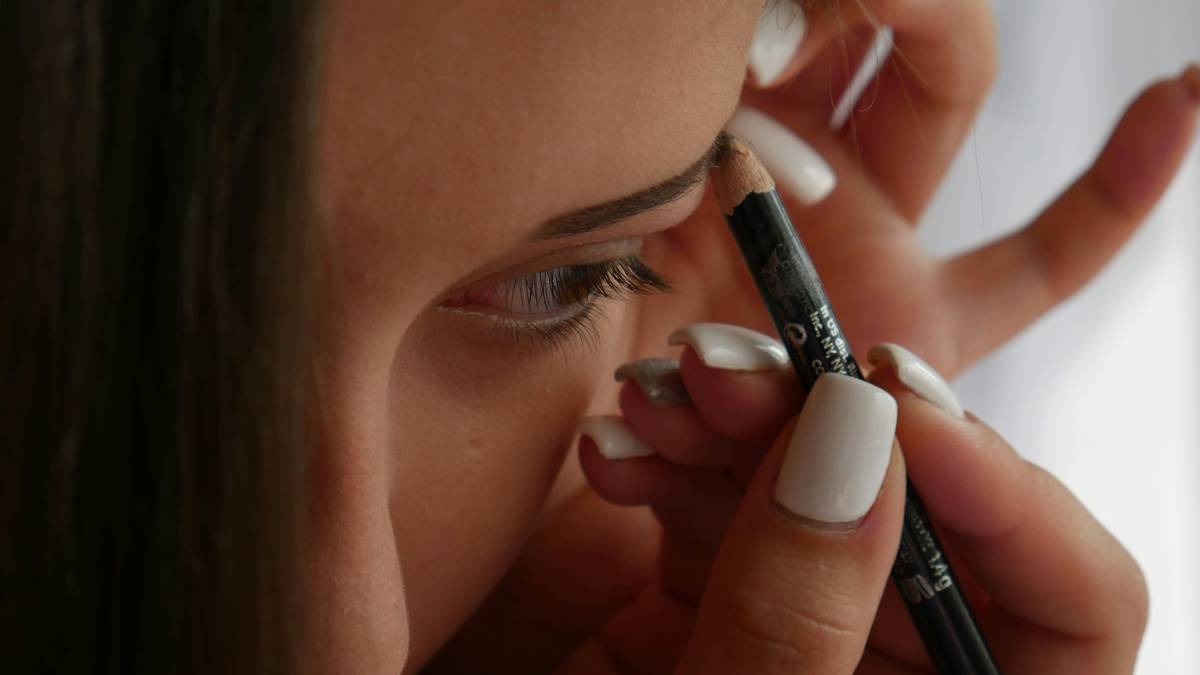
Yet many jump into home eyebrow grooming without understanding the chemistry of oxidative dyes or the anatomy of brow hairs. The result? Stains on skin, allergic reactions, or brassy orange tones that no concealer can fix. That’s why knowledge—not just products—is your best tool.
Step-by-Step Guide to Using an At-Home Eyebrow Tinting Kit
1. Prep Your Skin and Brows
Wash your face with a gentle cleanser and pat dry. Remove all makeup, oils, or serums—residue blocks dye absorption. Brush brows upward with a spoolie to assess natural shape.
2. Perform a Patch Test
Mix a pea-sized amount of developer and tint. Apply behind your ear or inner elbow. Wait 24 hours. If redness, itching, or swelling occurs, do not proceed. Allergic reactions to PPD (para-phenylenediamine)—a common dye ingredient—are documented by the U.S. FDA.
3. Mix and Apply Precisely
Follow kit instructions exactly. Use the provided applicator or an angled brush to coat hairs evenly—from root to tip—avoiding skin contact. Work one brow at a time.
4. Time It Right
Set a timer. Most kits recommend 5–10 minutes. Never exceed this. I once ignored the clock and paid the price with near-black brows that took two weeks to fade.
5. Rinse, Dry, and Evaluate
Rinse with cool water until it runs clear. Pat dry—don’t rub. Wait 24 hours before tweezing or waxing; tinted hairs are more fragile.
Best Practices for Flawless Results
- Choose shade wisely: Go one tone lighter than your desired result—it oxidizes darker.
- Protect skin: Apply petroleum jelly along brow edges to prevent staining.
- Don’t double-dip: Use fresh product each time to avoid contamination.
- Store properly: Keep kits away from heat and sunlight to maintain efficacy.
- Avoid this terrible tip: “Just use hair dye!”—it’s too harsh for delicate facial skin and can cause burns.
Real-World Results: What Works
A 2023 consumer survey by Statista found that 68% of users who followed manufacturer guidelines reported satisfaction with at-home tinting kits, compared to only 32% who skipped patch tests or deviated from timing. One tester from Dallas achieved consistent, natural-looking definition for six weeks using a dual-ended tint pen—proving that precision tools matter as much as technique. When done right, home eyebrow grooming saves time and money while building confidence.
At Visions FZCO, we rigorously test every accessory for safety and ease of use. Learn more about our standards on our About Us page. And if you’re unsure which kit suits your needs, our team is ready to help—just contact us. Rest assured, your data stays secure; read our full Privacy Policy for details.
Frequently Asked Questions
How long does at-home eyebrow tint last?
Most tints last 3–6 weeks, depending on hair growth cycle, skincare routine, and sun exposure.
Can I tint my eyebrows if I have sensitive skin?
Yes—but always patch test first. Opt for PPD-free formulas if you’re prone to reactions.
What’s the difference between eyebrow tint and dye?
“Tint” usually refers to semi-permanent color that coats the hair shaft; “dye” may imply permanent change. Most at-home kits are semi-permanent tints.
Is home eyebrow grooming safe?
When done correctly—with quality kits and strict adherence to instructions—it’s very safe. Never rush or improvise.
Do I need professional training to use these kits?
No, but watching tutorial videos and reading instructions thoroughly is essential. Treat your brows like the delicate feature they are.
Conclusion
Home eyebrow grooming isn’t just convenient—it’s empowering. With the right approach, you can achieve defined, vibrant brows that enhance your natural features without salon markups or guesswork. Remember: patience beats haste, and prep beats regret. Ready to elevate your routine? Contact us today for personalized recommendations.
Frame your face, not your fears—one precise stroke at a time.