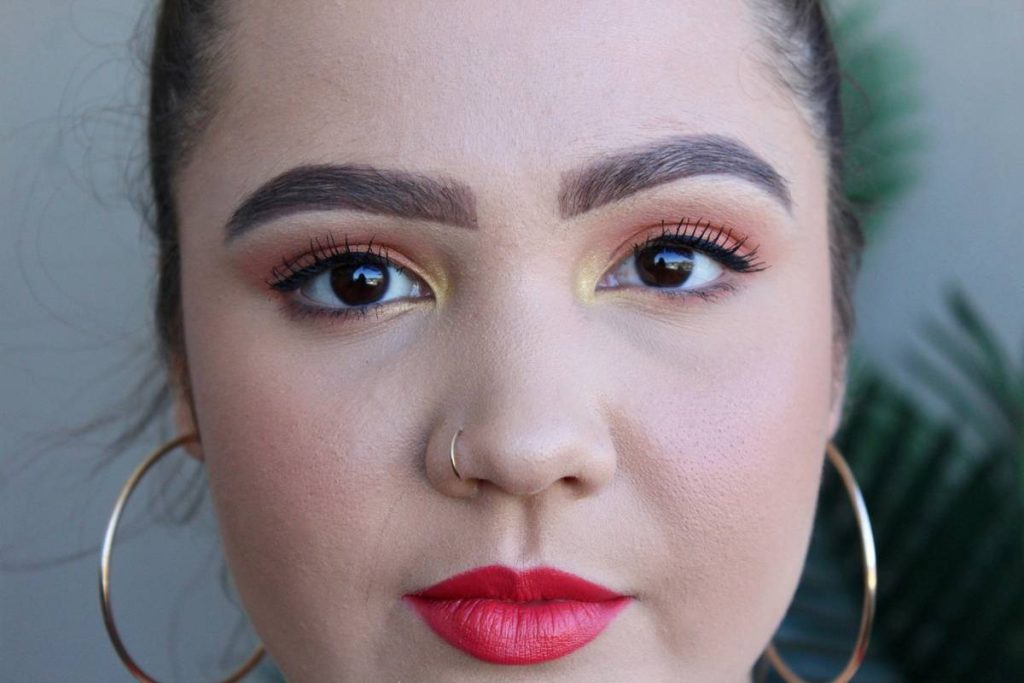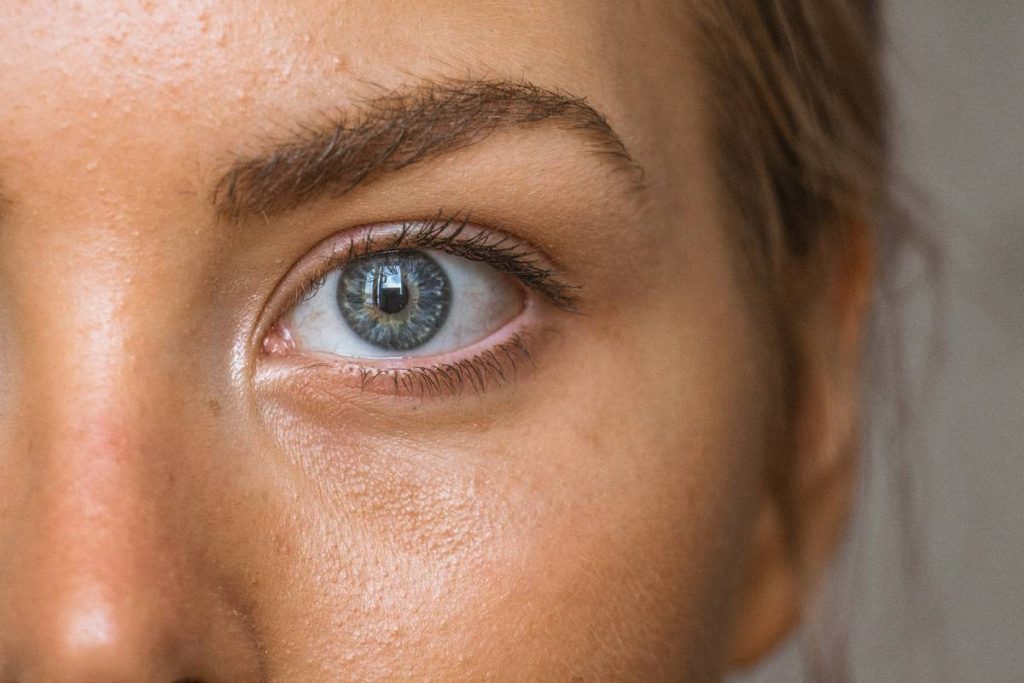
Most at-home eyebrow tinting kits promise salon-perfect arches. They deliver patchy color, smudged lines, and wasted weekends. The frustration? Real. The fix? Simpler than you think—but only if you stop doing what 90% of users get wrong from the start.
Why Off-the-Shelf Tint Kits Leave You Looking Like a DIY Disaster
Boxed brow kits aren’t evil—they’re just misused. They assume your brows grow like Instagram models’. Newsflash: they don’t. Uneven hair density, oily skin, or even tap water pH can sabotage dye adhesion. And most kits skip the prep step that pros never skip: cleansing with micellar—not soap. Soap leaves residue. Residue repels pigment. Result? Faint, spotty brows that fade in 48 hours.
Worse? The included stencils force unnatural shapes onto unique bone structure. One size fits none.
How to Actually Nail At-Home Brow Tinting (Without Wasting Another Kit)
Follow this sequence—skip one step, and you’ll regret it.
Step 1: Prep Like a Pro (Not a Passenger)
Wash brows with micellar water. Pat dry. Then—here’s the hack—dust lightly with translucent powder. Why? It neutralizes oils without clogging follicles. Most kits omit this. Big mistake.

Step 2: Mix Dye Correctly (Not Just “Add Developer”)
Ratios matter. Too much developer = brassy orange. Too little = ghost tint. Use the tiny spoon provided—never eyeball. And mix only what you’ll use in 5 minutes; oxidation starts immediately.
Step 3: Apply Against Growth First
Counterintuitive? Yes. Brush brows upward. Apply tint downward—from tail to head—against hair direction. This coats the base, not just the surface. Flip brows back up. Wait 6–8 minutes. Not 10. Not “until it looks dark.” Timing is non-negotiable.
Step 4: Remove Smartly—Don’t Wipe
Damp cotton pad. Press—don’t rub—along the brow ridge. Let capillary action lift excess. Rubbing drags pigment into skin, creating hazy outlines that scream “amateur hour.”
| Method | Cost per Use | Longevity | Risk of Patchiness |
|---|---|---|---|
| Salon Tinting | $35–$60 | 3–4 weeks | Low |
| Generic Drugstore Kit | $8–$12 | 5–7 days | High |
| Optimized Home Brow Grooming Kit (with pro technique) | $4–$6 | 2–3 weeks | Very Low |
Step 5: Seal It (The Missing Final Step)
After rinsing, apply a thin layer of clear brow gel or castor oil. This locks in pigment while hairs are still damp. Skip this, and you lose 30% longevity by morning.
The Industry Secret: Your Skin Tone Dictates Dye Tone—Not Hair Color
Here’s what brands won’t tell you: choose your tint based on your skin’s undertone, not your natural brow shade. Cool undertones (veins look blue)? Go ashy brown—even if your brows are black. Warm undertones (greenish veins)? Pick golden taupe. Neutral? Stick to true medium brown.
Why? Pigment reflects light off your skin, not in isolation. Match to skin, and brows look dimensional. Match to hair, and they look flat—or worse, drawn-on.
And never use black dye unless you’re theatrical makeup artist. It ages you instantly. Always go 1–2 shades lighter than your darkest hair.
Frequently Asked Questions
Can I use a home brow grooming kit if I have sensitive skin?
Yes—but patch test behind your ear 24 hours before. Opt for ammonia-free kits with added aloe or chamomile. Avoid kits with PPD if you’re reactive.
How often should I tint my brows at home?
Every 2–3 weeks max. Over-tinting dries out follicles, causing breakage. Let new growth show before reapplying.
Why did my brows turn orange after using a home brow grooming kit?
Too much developer or leaving dye on too long oxidizes pigment. Always follow timing strictly—and mix ratios precisely. Orange means chemistry, not bad product.