Struggling with sparse, faded brows that vanish by noon? You’re not alone. Drugstore tints flake, salon appointments cost a fortune, and most “easy” kits leave you looking like you drew on eyebrows with a Sharpie. The solution isn’t another expensive fix—it’s mastering a brow tinting kit DIY that actually works.
Why Most At-Home Brow Tinting Fails (And How You Can Avoid It)
Most people treat brow tinting like hair dye—slap it on, wait, rinse. Wrong. Eyebrow hair is finer, grows faster, and sits over delicate skin. Standard formulas oxidize too fast or bleed into the forehead. And here’s the kicker: most kits don’t account for your skin tone versus your natural brow shade. You end up with ashy arches on warm olive skin—or worse, orange streaks on cool undertones. The math is simple: wrong pigment + rushed timing = disaster.
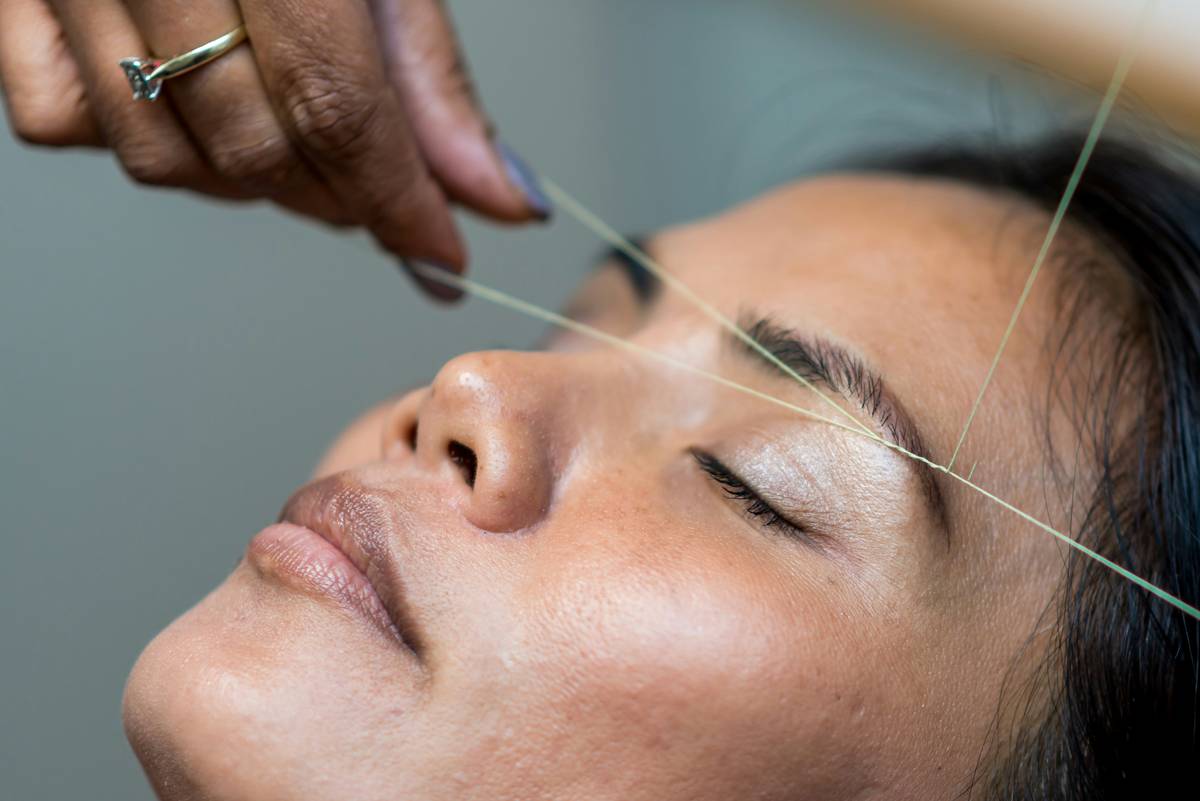
brow tinting kit DIY: Your Foolproof 5-Step Routine
Forget guesswork. This method prioritizes control, compatibility, and cleanup—all things salons won’t tell you because they want you back next month.
Step 1: Patch Test 48 Hours Before
Not optional. Even if you’ve used the same brand before. Skin chemistry shifts with hormones, weather, diet. Apply a pea-sized amount behind your ear. Wait two days. No redness? You’re clear.
Step 2: Map Your Natural Brow Shape First
Use a white eyeliner pencil to outline where your brows *actually* grow—not where Instagram says they should. Tint only within this boundary. Over-tinting creates that harsh, drawn-on look.
Step 3: Mix Pigment to Match Hair—Not Box Color
Most kits include 2–3 base shades. Blend them. Got light brown hair with dark roots? Mix medium ash with a touch of black. Warm blonde? Add a drop of gold modifier if included. Your goal: mimic your root color in sunlight, not under bathroom LEDs.
Step 4: Time Like a Pro (Not a Robot)
Set a timer—but start checking at 60% of the recommended time. Fine hairs process faster. Thick, coarse brows may need full time. Peek early. If it looks perfect at 3 minutes, rinse immediately. Overprocessing leads to brassy tones no cleaner can fix.
Step 5: Seal with Oil-Free Balm
Post-rinse, pat dry—don’t rub. Apply a non-comedogenic balm (think squalane or glycerin-based). This locks pigment into the hair shaft and prevents feathering.
| Method | Avg. Cost per Use | Longevity | Risk of Staining Skin |
|---|---|---|---|
| Salon Brow Tint | $35–$60 | 3–4 weeks | Low (if done well) |
| Drugstore Tint Wands | $8–$12 | 2–5 days | High (dries fast, bleeds easily) |
| brow tinting kit DIY | $2.50–$4 | 2–3 weeks | Low (with proper prep & timing) |
The Industry Secret They Don’t Want You to Know
Here’s the reality: professional salons often dilute their tint with distilled water to stretch supply. But that weakens pigment payoff and shortens wear time. At home, you control concentration—so you can actually get *better* results than in-chair services if you use fresh, undiluted product. And most pros won’t admit this: tint adheres best when applied to *slightly oily* brows. Skip the pre-cleanse alcohol wipe. A light cleanse with micellar water is enough. Natural sebum helps the dye bind. Counterintuitive? Yes. Effective? Absolutely.
Frequently Asked Questions
How long does a DIY brow tint last?
Typically 2–3 weeks, depending on hair type and aftercare. Avoid oil-based cleansers near brows—they strip pigment fast.
Can I use hair dye for eyebrows?
No. Scalp hair dye contains ammonia and PPD levels too harsh for facial skin. Always use a formula labeled specifically for brows or lashes.
Will eyebrow tint stain my skin?
Temporarily, yes—but it fades in 12–24 hours. Apply petroleum jelly along clean skin borders before tinting to create a barrier that wipes off cleanly.