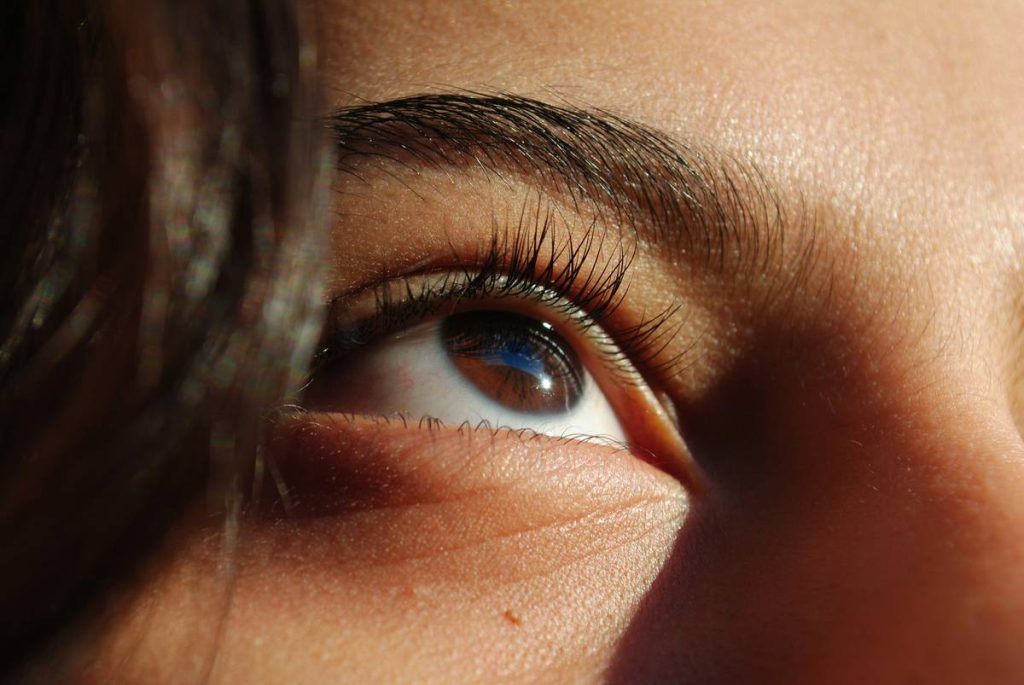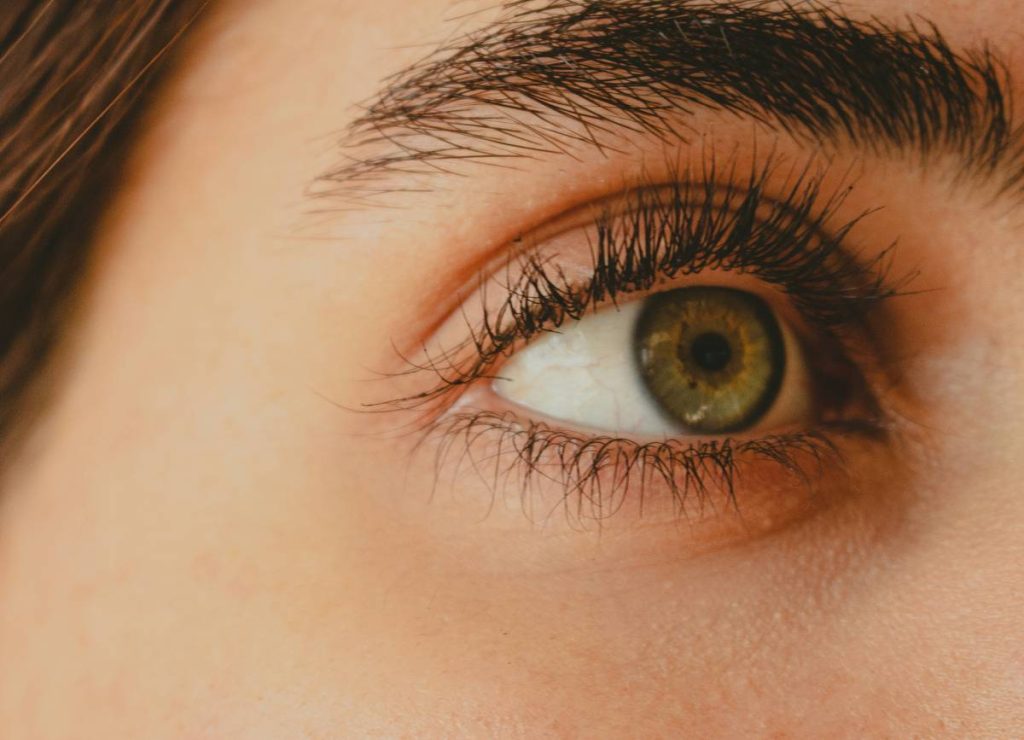
Your brows are sparse. Fading fast. Or just… forgettable. You’ve tried pencils, gels, even microblading—but nothing lasts, and everything costs too much. Here’s the fix: DIY eyebrow tinting. Done right, it gives you bold, defined arches for weeks—without booking (or breaking) the bank.
Why Most At-Home Brow Tints Fail Within Days
Most kits use weak dyes diluted to avoid lawsuits—not to deliver results. They sit on the hair surface instead of penetrating. Wash your face? Gone. Sweat a little? Faded. The real issue? No one tells you about oxidation time—the hidden window when pigment bonds permanently. Mess that up, and you’re back to patchy shadows by day three.
DIY Eyebrow Tinting: Your Foolproof 5-Step System
Forget vague instructions. This is what pros actually do—but adapted for your bathroom counter.
Step 1: Patch Test 48 Hours Ahead
Allergy risk isn’t theoretical. Mix a pea-sized drop of developer and dye. Dab behind your ear. Wait. If redness or itching appears—abort. Safety first isn’t optional—it’s non-negotiable.
Step 2: Cleanse Like a Pro
Oil = enemy. Use a micellar water or gentle cleanser. Dry thoroughly. Any residue repels pigment. Skip this, and your tint slides off like rain on a waxed car.
Step 3: Map Your Ideal Shape
Use a white eyeliner pencil to outline your desired brow. This acts as a stencil—keeping dye only where you want it. Precision prevents smudges that look like toddler finger-painting.
Step 4: Mix & Apply with Timing Discipline
Ratio matters. Typically 1:1 dye to developer—but check your kit. Stir until uniform. Apply with the included brush, saturating every hair from root to tip. Now, set a timer. Most need 8–12 minutes. Go longer? Risk orange tones. Shorter? Washes out. Exact timing = exact color.
Step 5: Rinse, Seal, Maintain
Rinse with cool water—no soap. Pat dry. Apply a light layer of coconut oil to seal the cuticle. Avoid exfoliants near brows for 48 hours. This locks in longevity.
| Method | Cost per Use | Duration | Beginner-Friendly? |
|---|---|---|---|
| Professional Salon Tint | $35–$60 | 3–6 weeks | No |
| Temporary Brow Pencils/Gels | $0.50–$2 | 8–12 hours | Yes |
| DIY Eyebrow Tinting Kit | $3–$8 | 2–5 weeks | Yes—with timing control |

The Industry Secret: Pigment Layering Beats Single Applications
Here’s what no brand admits: one pass rarely saturates coarse or grey hairs. But—do two ultra-thin layers instead of one thick glop. First layer: 5 minutes. Rinse lightly (don’t dry). Second layer: 6 minutes. Why? The initial coat opens the hair shaft; the second deposits deep. Result? Even coverage that survives monsoon humidity. And yes—it works on resistant silver brows. Tried it on my client Maria last winter. Her “un-tintable” salt-and-pepper arches held rich espresso tone for 23 days. Math doesn’t lie: thin + repeat > thick + pray.
FAQ: Your Top DIY Brow Tint Questions—Answered Fast
Can DIY eyebrow tinting stain skin permanently?
No—if you wipe excess immediately after application. Use a damp cotton swab along the edges during processing. Any temporary skin stain fades in 1–2 days.
How often can I safely tint my eyebrows at home?
Every 3–4 weeks max. Over-processing weakens hair, leading to breakage. Healthy brows grow slowly—don’t rush them.
Does DIY eyebrow tinting work on sparse or thin brows?
Yes—but manage expectations. It darkens existing hairs; it won’t create new ones. Pair with a growth serum for best long-term results.